 |
||

|
||
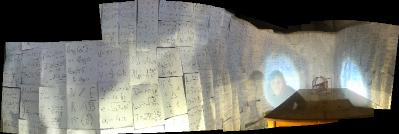
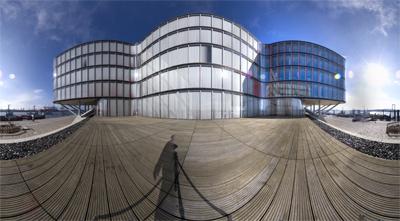
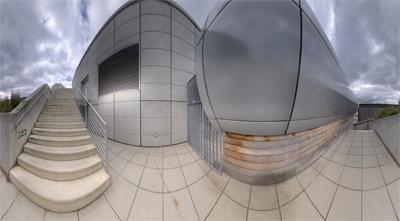
As said - I think everyone tried it - at least once - to produce a stitched panorama photos. Taking the point and shoot camera and swiveling along the horizon. Assembling the prints to recompose the whole after getting them back from the lab. This is how it started for me as well. Reassembling and stitching one of those, which I could recover from these early days with today's digital stitching technology, I found the result actualy not even bad - interesting would be the right expression. From there, and with my first digital camera I did the initial trials after I discovered some free stitching software on the web. I used the tripod, but did not want to spend the money on a panorama head. Again - not so bad of a result. From there it took off. Successively investing in equipment to get from the small image angle single row pictures to the full angle multi row QTVRs. You can see it starting to develop below here. The vertical image angles get larger over time and phase by phase. |
||
 |
||||
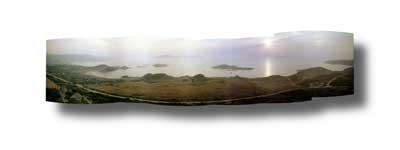
La Maddalena, Sardegna. Just off Palau in the north-east of the island. The pictures were taken using an instamatic camera. You know, those square shaped pictures taken with cheap, fixed focus, single aperture cameras. Just scanned the scenery from a hill above the camp ground we stayed during an Inter-Rail trip in the very early eighties. Somehow funny that I even remembered those when starting to stitch panos from digital photographs. Nevertheless, I even dug out the negatives, scanned and stitched them and was surprised how well they actually fit |
||||
 |
|||||
Largo Bay, Fife, Scotland. I had my first digital camera, just bought, no accessories, just the default flash card with 8MB and took it on a day out with my son to Fife. The pictures were taken just off the tripod, no pan head, no nodal point, no fixed rotation angle at low resolution (see flash card). Downloading some free-ware stitcher (can’t remember which one it was) I got amazed with the result and the potential. From there, there was nothing stopping me on making panos ... Not to forget, something remarkable about Largo ... |
|||||
 |
|||||
 |
|||||
 |
|||||
 |
|||||
 |
|||||
And here is phase 3. After the initial trials I bought a simple single row panorama bracket - taylor made for the digital camera I had. This gave me the nodal point and seamless stitches. Though, I only used the available built in objective with a 35 mm equivalent focal length. This quite limited the vertical field of view and gave me those "slim" panorama pictures with a full circle but no way to extent the "journey" into the vertical direction. First tests were done at home - as you can imagine. |
|||||
 |
||||
 |
||||
 |
||||
This is now adding a wide angle converter to the existing set up - giving some more of the desired head room. Still somehow limited ... |
||||
HDR - High Dynamic Range! This puts any shade in the visible range - see how dull the rest now looks. Quite an effort though, but much fun. |
||
 |
||||||||
 |
||||||||
When writing about phase 6, I was actually wondering if there might be something to come next at all, something like a phase 7, for example. Here we are ... Coming from the dilettantism of stitching point and shoot prints, followed by growing professionalism (involving some insvestment), we are now coming back to square one with the help iPod panorama apps. It is so much fun - though! |
||
|
||||

